Showing posts with label sewing plan: autumn 2017. Show all posts

Monday, 4 December 2017

autumn sewing: my very unseasonal Shakespeare dress

So this took me quite a long time.


There are several reasons this fairly simple dress took me three months to make. First, I didn't want to cut the fabric. This is a bit of a recurring theme for me, and I'm currently holding onto three lengths of slightly higher-end fabric that I'm reluctant to take the plunge on. Up until this dress, I thought I was just being a giant fraidy-cat. I kept looking at the fabric and the Cambie pattern I planned to use, feeling slightly dizzy and promising myself I'd cut into it next week, honest. It took two months of this before I realised the reason I was putting it off: this wasn't the right pattern and I didn't want that dress.

I still like the Cambie pattern and want to make another one. But it is a bit, well, sweet. Since "sweet" is not in any way part of my personal style, I made my first version in a dark green crepe which took the edge off the cutesiness a bit. I don't wear it that much because it is very much an office dress, but it's also an office dress that got an unprompted compliment from a billionaire, so it's earned its place in my wardrobe. I kept picturing the same style in this whimsical cotton, and it just wasn't working for me


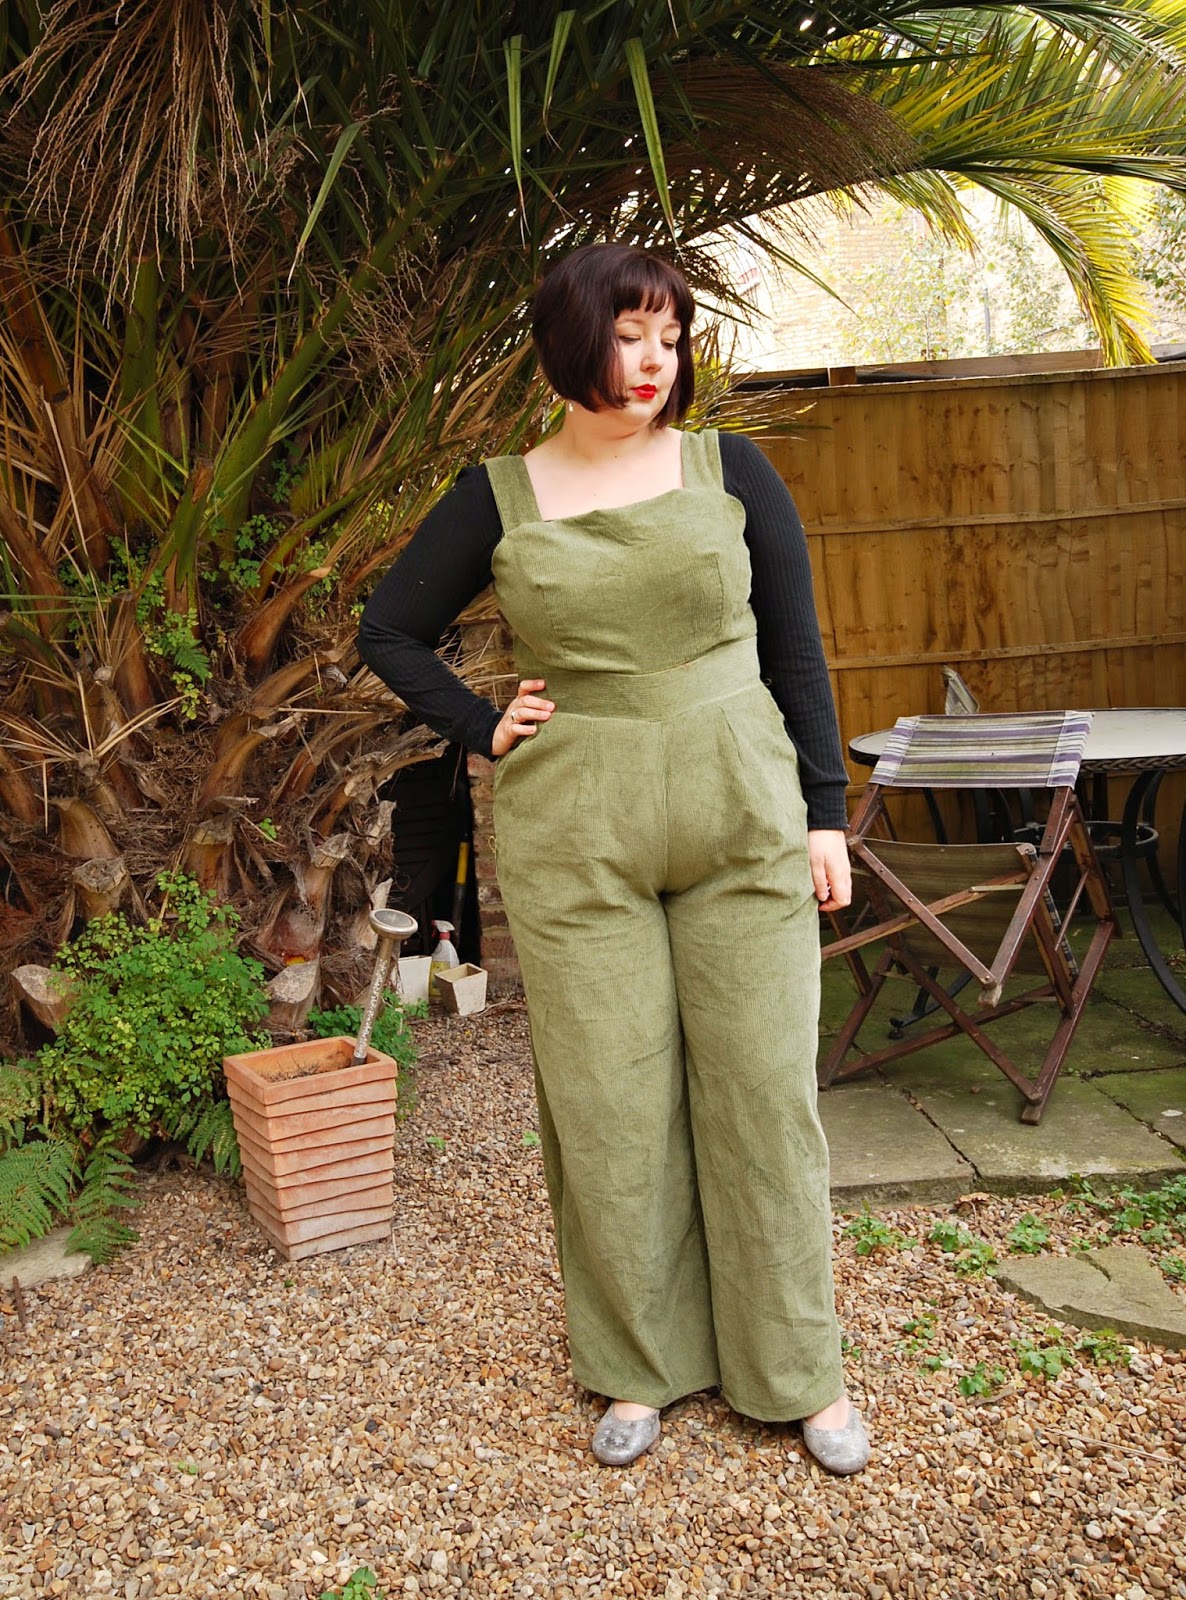
What I ended up with is my old faithful combination of Anna bodice and Butterick 4443 skirt. Yes, I know, I make too many Anna bodices and I should branch out a bit. I do try. But it's so simple to make, and it actually fits me well because of the waist pleats. I have never been able to work out how to get a proper fit in the bust without them. Next year I will find at least one more go-to, I promise. For now, it's the one bodice I know fits very well, so I was less terrified about messing up expensive fabric.


I got the main dress all French-seamed up and looking fairly nice when I ran into problem number two. I'd always planned to fully line the dress for a neater appearance at the neckline and safeguard against how thin the fabric is, and I'd bought some white cotton for the lining ages ago. However, when it came to actually cutting it out, I realised it was about three times as thick as my main fabric and would probably do weird things to the hang of the dress (and look strange and be uncomfortable). The dress then hung on a hook waiting patiently for several weeks while I procrastinated over going lining shopping. I hate lining shopping; I find it to be such a crapshoot. Needs to not be too annoying to sew, needs to feel nice against the skin, needs to be synthetic so it doesn't stick to tights but also needs to not be incredibly static. I found what I thought was a decent fabric but sadly it turns out not to be. It is extra static and was a complete bitch to sew with. The dress feels much tighter than it did before lining it, so I think I lost a bit of ease while I was wrangling with it. Ugh.  For now it'll do, but going back and doing the lining again is not out of the question.


The truth is that I'm not as happy with this dress as I could be. It's slightly too tight (though I don't want to alter it yet as I've put on a fair bit of weight this past year due to a birth control I've just come off; I want to see where my weight is when my body gets used to itself again), the lining is terrible and because it's so cold in London right now I don't know when I'm going to wear it. And also the fabric still has text from the wrong play printed on it. I do think it's pretty though, so I'm going to put it away for a month or so, get all my Christmas sewing done (ever tried to make a Pokémon hat? Me neither, but I'm about to), and re-evaluate it in 2018.


Next week: a different skirt shape? Surely not. 

Monday, 13 November 2017

autumn sewing: McCalls M7626 jumpsuit

So this is not exactly what I intended to happen:


I did intend to make McCalls 7626, which is what this is, and I did make McCalls 7626 in a teal babycord, which is not what this is. Let's just say I had some issues. 


Let's start with the good stuff: I really like the shape and fit of these trousers. The neckline works with the Wanted top underneath exactly the way I pictured it. I've been thinking about an olive winter jumpsuit for a while now. It's outside of my wrap-dress-and-tulip-skirt comfort zone, but I do think the end result is cute. 


BUT. I found making it to be kind of a headache. The first and most important reason is that the sizing was not what I expected. Here's attempt one:


Cute, right? I actually like this version much more. The colour is better on me and the fabric isn't as thick, which definitely works better for this pattern. The only problem is that I can't do it up and the back is just flapping open behind me in this photo. I have a small amount of fabric left over, and I would love some advice on where/how to insert extra fabric to make this fit me properly. I'm finding the whole idea a bit intimidating at the moment. 

I was frustrated, but I wanted a wearable jumpsuit. So I bought this olive corduroy on my Goldhawk Road corduroy hunt, and had another go, sizing up basically everywhere except the mid-upper back, which always gapes on me anyway. 


This one fits (and fits comfortably with a top worn underneath it), but it's not perfect. As you can see in the photo above, the height of the back is in exactly the wrong place for a comfortable zipping experience. It's slightly too high to do up in one motion from the bottom, but slightly too low to be able to finish by reaching over the shoulder. It's really annoying. Also the legs could do with a little more length. 


I wouldn't use this kind of thick cord to make this pattern again; it's way too bulky. Putting in the zip was one of the more annoying experiences I've had because there is just so much fabric in the waistband seams. Invisible zips do NOT want to be sewn in straight over four layers of cord and I had to unpick and redo several times. The sample dress on the envelope looks to be made of a corduroy-type fabric, and I don't think it would have ever occurred to me to do this without that picture. It looks great and is a fantastic warm autumn piece, but yeah. Use a thin cord. 


This review is going to come off a lot more negative than I mean it to. I really like this jumpsuit and will make it again (I want to try it in a thinner fabric), but there were just a lot of little annoyances along the way. Sizing off, zip insertion annoying, bulky bits, too short in the legs, slightly odd instructions. I'm convinced there must be a less convoluted way to handle the lining, but I'm too much of a beginner to know what that way might be. Sigh. 


I'm pretty sure I'll get a decent amount of wear out of this, assuming I don't get too hung up on how much of a departure this is for me style-wise (self-esteem is currently a huge problem for me and I am fighting the urge to just disappear. Wearing a corduroy jumpsuit does not boost one's invisibility, it turns out). It'll be especially good for layering as it gets colder. 

My next go at this pattern will definitely be attempting to fix the teal version, and again, advice very gratefully received. I basically need a small amount of extra room in the bum and waist so that it will zip up, and a little bit more ease in the bust so that I can comfortably wear a top underneath it. I WILL do it before the end of the year. I am determined. 


Really restrained Josephine Baker-ing for no reason whatsoever! 

Monday, 23 October 2017

autumn sewing: gold Thurlows and a mish-mash top

I'm working my way steadily through my autumn sewing plan, and I've now finished almost all the day-to-day pieces I committed to making (I will be making the coat and have some camel-coloured wool for it, but I've decided against the Leanne Marshall pattern and am waiting for a couple of promising-looking coat patterns to become available here before I start that project). Mostly it's gone very well, and I'm wearing everything I've made on a very regular basis. This one, however, caused me a little more trouble.


Here we have my second-ever pair of Sewaholic Thurlows. My first ones fit well, but because they were grey pinstripe they felt too formal for me to actually get any wear out of. I've been putting off making a second pair because complicated, but now it's officially autumn (I went outside today in a scarf. A SCARF) a pair of comfy trousers is exactly the kind of thing my wardrobe needs. 


So, fabric. Sigh. The fabric I had in my head was an extra-saturated mustard corduroy, and I searched for it for a month. I ordered what claimed to be mustard cord from Minerva Crafts (I hadn't used them before, and yeeaahhh... let's say I was not sold), but what turned up was the most horrendous shade of toddler yellow I've ever seen. That basically killed any drive to find what I was looking for online. Several weeks later I went to Abakhan in North Wales with my partner's mum and found the exact colour I was looking for, except it was wool. Which I bought, along with some cotton to line them. I got them almost completely finished, tried them on to fit the back extension, and they didn't fit at all. I have no idea why, because I used the exact same pattern and size for both the previous and subsequent pairs, and they were fine, but the wool ones were unwearable and unsalvageable. I bought this peachy gold corduroy on Goldhawk Road a few days later, and I do like it, but part of me is still mourning that bright yellow. Grrrr. 


As with my previous attempt at these trousers, I made them up mostly straight out of the envelope. Trying on my first pair revealed that they were slightly too short, so I added about 1.5 inches to the legs, and honestly the length is probably one of the things I'm most pleased with. They neither drag on the ground and get dirty nor do that weird hovering thing that slightly-too-short trousers do. I kept all the details (except the belt loops, because I do not own any belts); I made the back welt pockets and constructed the front fly without any problems whatsoever, then promptly sewed the trousers up as one giant leg with two hip holes because I was apparently high on my own sense of accomplishment and thought I didn't have to pay attention anymore. 

I flat-felled all the major seams and hemmed the trousers by hand. I've been doing a lot more hand hemming since I realised there's no reason to keep the stitches hidden on the inside and a herringbone stitch is actually quite nice to sit and do. 


The biggest problem I have with these is the fastenings. Super-secure, neat-looking hand-sewn fastenings completely elude me, and I'm certain that the hook and/or bar is going to come off sooner rather than later. Is there a trick I'm missing? How do you get poppers and other such notions to go on neatly and stay put? 


The top is a Concord top with added cuffs and a slash neck, and honestly it's not really what I wanted. That doesn't mean I don't like it or won't wear it, but it's not what I had in mind when I planned to make this. I wanted a layering piece, but this is just a very slightly roomier version of what I usually make. I think getting the shape I was imagining is going to be quite tricky - I want something I can throw on over tops and dresses, but I do not want baggy or boxy in any way, and I think it might take me a few goes to get right. I have about a metre of this fabric left, so I might have another go at it. 


I copied the neckline from an old RTW jumper of mine that's about to die, and though I like it I think the neckband needs some work. I've had better success with neckbands since I stopped using the neckband pieces that come with patterns (or using them for width only), but I still don't have that instinctive understanding of fabric that allows my necklines to come out right all the time. This one stands away from my neck a bit at the shoulders, so I probably needed to make the band a little shorter. 


Both these pieces will, I think, serve me well. I'm going to have another go at getting the shape of top I want, and I'm debating whether I want another pair of trousers. When I bought this gold corduroy I bought another two pieces too, one of which is a much finer and thinner piece of burgundy cord. I'm unsure whether I want it to become another pair of Thurlows or a miniskirt. Ah, decisions. 

Monday, 9 October 2017

autumn sewing: peacock skirt (and bonus Givre)

I didn't post last week for two reasons. One, I'd decided to start about five projects at once and so had five half-finished things as opposed to one or two actual wearable garments, and two, I was having an especially bad time with sewing and self-image. I've put on a bit of weight recently so a lot of my clothes fit awkwardly, and I couldn't get my head around picking a size or taking photos of the finished product. But equally, not sewing was making me sad, so on Friday I decided to make my peacock fabric into a Sew Over It tulip skirt. It was in my plan, I've made the pattern over a dozen times and I know it fits, and I had enough fabric that I'd be able to remake the skirt if my size changed drastically any time soon. Also, it takes me about 20 minutes these days.


(In these first three photos I look like I don't have any legs. Please ignore that. I do still have legs.)

I got this fabric from Fabric Land in Bristol, and it was the genesis of the whole peacock theme thing. I usually breeze past the printed cottons and stretch cottons in Fabric Land, but I saw this from the other side of the shop and I knew it had to come home with me. Colour is king in my wardrobe, and the saturated blue and yellow with tiny hints of red and purple is just too perfect. 


Unusually for me, I opted not to put pockets in it. I might regret that somewhere down the line, but I wanted the skirt to be as simple as possible and I didn't have workable pocket fabric immediately to hand. It should fine - it's autumn now, so I'll be wearing this with a jacket more often than not. I used a regular zip instead of an invisible zip, because all the invisible zips currently in my notions box are 22 inches long and bright salmon pink. When did I buy a job lot of salmon pink zips? 


(I took these photos in our stairwell. I'd got myself all geared up for photo-taking, then realised it was raining and the flat was a mess. I think it works and I'll probably do it again - apart from anything else, I look way less murderous making eye contact with the camera from this angle. The struggle with RBF is an enduring one.)

While we're here, let's talk about the top:


I decided to make another Deer and Doe Givre dress, because much to my pleasant surprise I've been wearing the first one all the time. This one isn't quite as successful - the fabric doesn't stretch quite as much so it's a bit restrictive, and also something about the combination of colour, texture and overlocking (my friend Micky fixed my overlocker, and I managed to do this one dress before it did something weird and now I don't know how to fix it again) reminds me of the sleeping bag I used to use as a duvet at my nan's house when I was seven. I don't even think that's a bad thing; it's just that the association is so strong that it's all I can think about when I wear this. I do LOVE the colour, though - this orange-yellow-gold needs a bigger place in my life. 


I'm super into this outfit. It's very "business casual Rainbow Brite" which is an aesthetic I could stand to explore a little more. I've been spending a bit of time on personal style forums lately and there's something tremendously appealing about the pithy little style phrases people come up with. I'm thinking about doing a short series on styling and wearing things differently, because I'm sure my wardrobe could be way more versatile than it is. 

I managed to get a couple of things finished and photographed this weekend, so up next: a dress that has nothing to do with anything I planned. Hooray!


Autumnal!

Monday, 25 September 2017

autumn sewing experiment: Papercut Patterns Kobe dress

Dear readers: negative review incoming. 

I admit I approached making the Kobe dress from a place of scepticism. The sample photo (beautiful romantic layering) and the line drawing (sack thing with a back detail that in no way excused the sack part) didn't seem to have much to do with each other at all. Having bought the pattern basically immediately based off the picture (shame on me, etc), I decided to see if some approximation of that photo could be achieved by using a sheer lace fabric. I'd never worked with lace before, so it seemed like a good opportunity to broaden my skill set a bit. I completely recognise that what you're about to see is not my best work, and I wouldn't normally post a hastily-sewn toile, but I do think this ought to be talked about. 


If I'd liked this enough to make a proper version, I would have cut the hem on the selvedge and made a slip to go underneath. For the toile I just left the edges unfinished and put it on over a cami and skirt. I made size L in the hips and M everywhere else, because I usually find that Papercut comes up large on me (which isn't a problem I've read about anyone else having, but I always have to take things in if I cut them according to the size chart). 

The sleeves and hem on my version are shorter than the pattern dictates. The hem is meant to hit at mid-calf so I made the pattern about eight inches shorter (a shapeless mid-calf-length dress? Get out of my office) and the sleeves were a little way above the elbow, which looked horrendous on me so I hacked about three inches off there. I also found that the neckline was wide enough to pull over my head, so I sewed the pleats together at the back rather than have to faff with a button.

So far, so uninspiring. What about the back? This is what we're going for:


And this is what we got:


(That's the zip of my skirt, not a slug trail.)

You can see here that in fact, when made in a sheer fabric, the back does resemble the beauty of the photo somewhat. It's not exactly the same, but the layers of intricate loveliness do begin to show through if you make the dress in a sheer. But here's the thing: that layered back detail is the selling point of the pattern. They KNOW that back detail is the selling point of the pattern. That's why it's the envelope picture. It is a goddamn beautiful photo that is going to make people want that dress. So why not tell people that the dress is intended to be made up in a sheer fabric? Is it cynical to say "because then they'd have to include pattern pieces for a lining or slip or something"? I don't know. I just feel like this dress is pointless without those sheer layers, and the fact that the sample garment shows the dress worn on top of another fucking dress without any real indication that that's what's happening smells a tiny bit like false advertising to me. Not to the extent that I'm going to demand my money back, but definitely enough for a side-eye and a blog post. 

I also really object to the pattern picture including a belt (and thus waist cinching) when the pattern itself includes no such thing. It's not like that would even be hard to include. I made belt loops out of two strips of selvedge and a belt out of another strip. It's some rectangles. It's easy. 

I'd also like to show you something else:


I put the dress on Patrick for our collective amusement and took a photo of the back on my phone so I could get a better look at it. This is how it naturally falls with no waist belt and no fabric underneath to disguise anything, and I don't think it looks very good. If you look back at the sample photo, the waist belt is pulling the pleats inwards, and that's part of what creates the shape. On my version, the waist belt is pulling the pleats outwards, and that's contributing to a different, but still (I think) pleasing shape. With nothing there, it just... falls straight down and hangs there, and it doesn't look anywhere near as nice as either of the belted versions. Which, again, says to me that this dress needs a goddamn belt and that should have been included, and also that it requires an incredibly specific set of circumstances to look the way it looks in the sample photo. And many of these circumstances aren't stated by the pattern at all. I'm not impressed.

Will I wear this dress? No. That back detail really is lovely in a sheer fabric, and I think mine came out really nicely (scratty sewing aside), but I don't like the rest of the dress at all. It doesn't suit me and while the waist tie helps, it's not a miracle worker. Maybe one day I'll have a go at transferring the back detail onto a better dress, but it's not a priority. Also the dress looks about eight hundred times better on Patrick, who belts it at the hips and looks like an exceptionally beardy flapper girl in it. So now it's his dress, and I'll borrow his hat and we'll do the Charleston in the kitchen. 

I feel I should say that I really like Papercut. I've made three of their other patterns and was impressed with all of them. I think their drafting is good and they've more than once produced that thing I was looking for and couldn't find anywhere else. But I don't like this. It's not a good dress for me and I am seriously side-eyeing that sample photo. I think to get from this pattern to that sample photo you have to be more talented than a medium-rated home sewing pattern should require. I've searched the Instagram hashtags and there are people who are happy with their dresses, but nobody has produced anything even remotely like the picture. This pattern should have either been way more thoughtful and complicated, or used a more representative photo. 


Feel the side-eye of Super Puffy Cold-Ridden Jen. Feel it. 

Monday, 18 September 2017

autumn sewing: my triumphant peacock Sewaholic Minoru

Fair warning going into this post: this jacket is one of my favourite things I've ever made, so this is going to be a pretty gushy review. Second warning: because it is now autumn, I was suffering a horrendous cold when I took these pictures, so my eyes have puffed away into nothingness. They do that.

Anyway, LOOK AT MY AMAZING JACKET:


I am so pleased with this. The fact that I made this myself makes me feel like some sort of wizard. Even people who know I make everything don't realise I made this. 


The Sewaholic Minoru is one of those patterns that I've liked for a long time but could never quite see how it would fit into my wardrobe. (I don't think the orange sample garment helps; orange and slightly puffy just reminds me of lifeboats, and lifeboats aren't particularly my aesthetic.) I hadn't thought about for it ages until I saw this Liberty print laminated cotton on Dragonfly Fabrics, and then I knew immediately that the two had to go together. 

From the picture on the website, I was expecting the fabric to be the black and white colourway, which was the only one I knew of at the time because my boyfriend has a mug in that print. Since I bought this fabric we've also got duvet covers in the yellow colourway, because we are terrible influences on each other and really ought to be stopped. I was surprised that it turned out to be this blue, but I'm actually glad; this fits in with my other clothes much better. 


(This is a stupid picture. Just go with it.)

The thing I love most about Sewaholic patterns is how thoughtful they are (excepting the Cordova, which I didn't really care for). They're designed by someone with serious patternmaking chops who really thought about details that would be useful and practical as well as ones that would look attractive, and the end product is designed to look completely professional. I miss Tasia, though I completely get why she might have quit and I'm glad she's sewing again. 


 The jacket is just below hip length, with raglan sleeves, an elasticated waist and cuffs, interior patch pockets, a wide collar, and a hood that can be rolled up and zipped away. All raw edges are enclosed apart from the centre seam of the hood, and the sewalong tells you how to line the hood if you want that one hidden away too. It doesn't come with outer pockets but I added some anyway, because any outerwear intended for adverse weather is functionally useless to me if I can't shove a pair of gloves in the pockets and then forget they're there. I did consider adding welt pockets to the front pieces, but I couldn't find a way to position them that didn't look weird with the print, so I just freehanded a fairly wide and deep pocket piece and stuck it in the side seams about 1.5" below the waist elastic.


I've never worked with laminated cotton before, and I found it to be a massive pain in the arse. It was all going fine until it came to sewing the front plackets, and The Gnome just was not having it. The fabric wouldn't feed through normally, and I had to cycle through all kinds of stunts, including literally operating the machine by hand, to get through the seams and the topstitching. As a result my topstitching is definitely not the prettiest, but for the most part it's not wonky either, so unless you get super close it's not really noticeable. 


I decided to follow the sewalong on the Sewaholic site, which was a good decision. I didn't necessarily need all of the extra detail, but there were a fair few helpful bits which aren't included with the pattern instructions, such as how to get neat corners on the internal pockets and how to attach the cuffs to the lining by machine. The latter took me a while to get my head round, but I'm so pleased that it worked. I hate slipstitching cuffs (as per the patterns instructions) because I nearly always manage to catch a stitch on something and pull it out. No, I don't know how either, but it makes me feel so much better to know that the stitching is neatly tucked away on the inside. 

And now, a few flat shots:


The hood comes out of a zipped pocket along the collar...


...and rolls away like this. This makes the collar slightly padded, but not in any way lumpy and weird unless you just shove it in willy-nilly like I did the first time. Lesson: don't do that. Roll it up. It's much easier. 


The interior patch pockets are meant to close with Velcro, but sewing Velcro onto this stupid laminated fabric was not a thing that was going to happen, so I don't have closures on mine. I don't think I'll need them, but I can always go back and hand-sew a popper in if I change my mind. 

You can also see here that the waist elastic runs from inner pocket to inner pocket, creating shaping at the back without disturbing the pattern in the front. 


The pattern also comes with a hanging loop, which is exactly the kind of practical detail I get excited about. (I know it's an easy enough thing to add in myself, but I always forget if it's not written into the instructions.)


Cuffs! With no slipstitching!

I am going to get a hell of a lot of wear out of this. Depending on how cold winter is this year, it might well work for three out of four seasons. Historically most of my outerwear has been aggressively neutral (my purple coat was actually quite a departure for me, as all my RTW jackets and coats were/are black, grey and navy), but this is making me think things like "maybe I should have a BRIGHT YELLOW COAT" and "maybe I should dress like a literal peacock feather and have a massive hat with fringe all over it" which is why I'm not allowed to think things. 

But this? This is great. One of my top five projects of all time, easily. 


Extremely justified smugface!