
Even at the time I knew it was pretty bad, but it was the reason I started sewing and I was not going to allow it to be terrible. In a way I was quite grateful that the static was so insane and made the dress unwearable, because it meant I didn't have to confront how uncomfortable I felt in it. Nothing about it worked for me; it didn't fit me anywhere (though some part of this was probably the stupid static cling), I thought it made me look frumpy, and while I loved the colour in theory, when combined with the collared style it made me feel like a dinner lady or a travel agent in the early 90s. It was a terrible, horrible, no good very bad dress and I was glad to see the back of it. I wrote fairly positively about it at the time, because I wasn't prepared to accept that after all that fuss I didn't even like the dress. Ah, denial.
However, it was also my original sewing goal, and I didn't really feel I could consider that goal met unless I had an actual wearable version of the dress. Sew Over It have said that they're releasing it as a commercial pattern next year, and I felt that I ought to make a proper version before then; I didn't really get that much out of the class and if I didn't make the dress until the paper pattern was released I might feel like I'd wasted my money. Let's not look too deeply into that one.

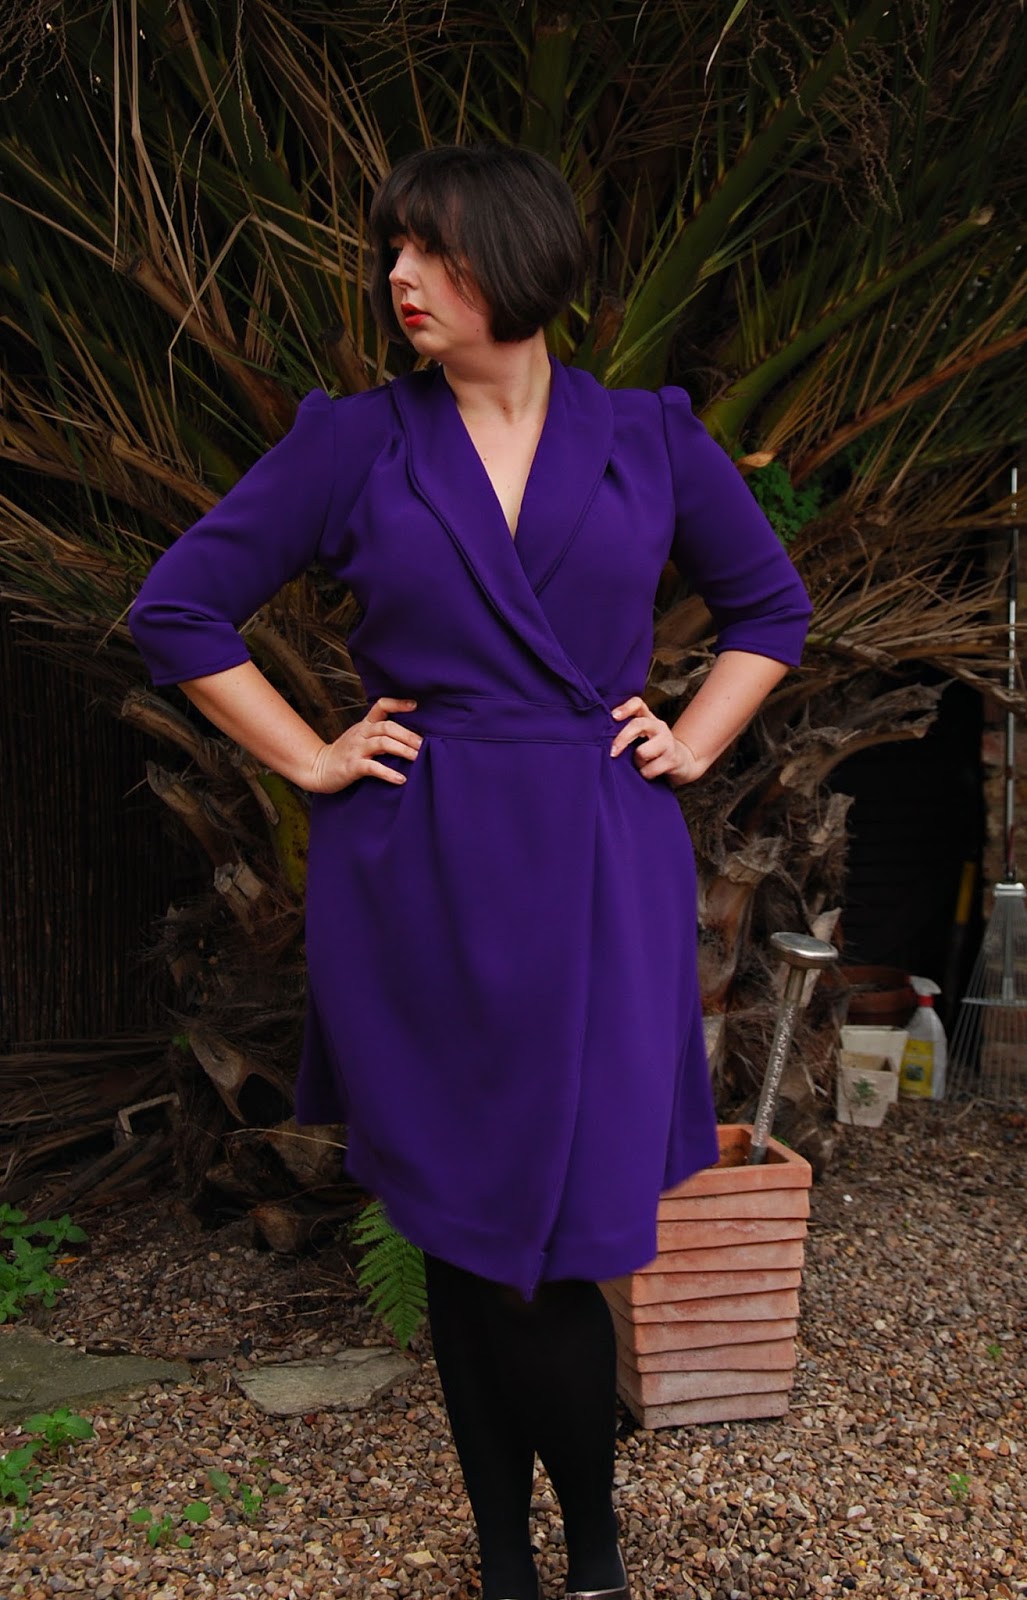
The fabric is an actual crepe, as opposed to the previous static polyester they sell as "luxury crepe", but it's not like any other crepe I've worked with. That's not a compliment. It is not at all static, but it feels really quite harsh and also it does not iron even the tiniest bit. The collar in particular was a massive pain in the ass - I would put a steaming hot iron on it and it would just bounce back up like nothing had happened. This is my second attempt at photographing this dress, which I actually finished over a month ago. I decided I could deal with how it looked, took photos, realised all the problem areas looked eight times worse on camera, and hung it up until after my holiday, when I pressed the shit out of it again. It's still not perfect, but it's less embarrassing.


The instruction sheet I was given in class is fairly bare bones, and when making the first dress we didn't actually follow it. One of the things they don't include is a pattern layout diagram, and for this reason I initially only cut one pair of collar pieces misremembering the collar to be much narrower than it is. Gah. Other than that, I'm at the point now where I can get through most things as long as I have a vague construction order and some idea of what to Google.


Something else I hadn't remembered was how bulky the dress gets around the neckline. There are seam joins and pleats and collar pieces AND bias binding to finish the seam, and since it's self bias binding which needs to be folded in, there are a crazy number of layers at certain points. The Gnome handled it all with good grace, but it's something to bear in mind.
I switched out the gathers at the sleeves for pleats (I will always switch out gathers for pleats if I can because few things make me more reluctant to sew than knowing the next thing I have to do is a bunch of gathering, and also I don't like puffy gathers at the shoulder). If I'd remembered that the sleeves were this slightly awkward length I'd have made them a bit longer.


When I tried the dress on looking to sort out my popper placement (something else that went wrong with the first dress) I realised I didn't really like the shape the dress was giving me. For something with all these tucks and gathers and waistbandness, it was curiously lacking in waist. I was worried I was going to completely hate this version too, but after taking the bodice in about an inch on each side and raising the hem to knee length, I felt much better about it. I do think if I were to make it again I'd take out some of the gathering and blousiness from the back piece, and cut smaller front pieces with a bust adjustment.


Getting the poppers in the right place was actually fairly easy this time, which I must attribute to a combination of improved skills and less awful fabric. There's a tiny bit of stretch in this crepe and I think that helps a lot with the comfortable fit. If I ever decide to make another one I will definitely use something similar. Though preferably something that irons better.


I now consider my original goal achieved. Even if I don't wear it very often, this dress is actually nice, and has an elegant vibe that may come in handy every now and again since I do move in the kind of circles where someone occasionally says "Come to this thing, and do so in 1940s drag". I think my next goal is going to be a particular vintage evening gown, but I'll write more about that once I've had a look at the pattern.

I was in a hurry to take these photos (because end of November), so this is more amputee than land girl. Eh.
No comments:
Post a Comment